

Fresh Fork Market vegan bag 10/22/2015: acorn squash, apples, apple cider, broccoli, carrots, cauliflower, celery root, collard greens, and turnips
Whether you belong to a CSA (Community Supported Agriculture) or Farm Buying Club, visit the Farmers’ Market regularly, grow your own produce, or glean bargains at the local market, chances are you throw away (or compost) a LOT of vegetable scraps. Recently I realized that I had been missing a prime opportunity since we joined our Farm Buying Club, Fresh Fork Market, earlier this fall. Each week as I unpacked our vegan share of produce, I trimmed the leaves off the broccoli and cauliflower, cut the tops off the carrots and beets, and pulled off the outer leaves of cabbage and sent all of these lovely bits off to the compost bin. But last week I finally realized that instead of paying $3.00 or more for each box of vegetable stock at the grocery store, I could simply make my own with all of these scraps. Genius! We use a lot of veggie stock/broth at our house, as we use it in place of oil for sauteing vegetables, as well as all of the normal things you would do with broth, such as make soups or sauces or use as an ingredient in veggie Shepherd’s Pie. Too bad I didn’t think of it sooner…

Fresh Fork Market vegan bag 10/29/2015: acorn squash, beets, broccoli, butternut squash, carrots, eggplants, Melrose apples, red cabbage, and red leaf lettuce.
So after picking up my bag last Thursday night, I trimmed off all those extra leaves and tops again, only this time I put them in the fridge overnight until I could make the stock on Friday. (Let’s get this out of the way: I am using the terms broth and stock interchangeably in this post, because if you choose to not use the spices, you will end up with stock, but if you spice and salt yours, you will have broth, which is what I did.)

Assorted veggies from the past two weeks of our vegan share bags, plus a few other garden stragglers and scraps.
On Friday morning I pulled everything out of both refrigerators (the mini fridge in the garage has been a life saver this summer and fall) and washed it all thoroughly. I then proceeded to cut off the tops of the carrots and beets, cut off the stems of the broccoli and cauliflower, core the cabbage and peppers, and trim a few items I planned to use right away. I used all of the celery root, several whole cloves of garlic, most of an onion, and some frozen chopped tomatoes for extra color and flavor. Oh, and one sad, lonely Calliope eggplant left over from my garden.

Add approximately the same amount of water as vegetables. Don’t stress about the amounts being exact, as this is just a guideline.
For my stock recipe, I partly followed the recipe in Alana Chernila’s book, The Homemade Pantry: 101 Foods You Can Stop Buying and Start Making; I used her recommended herbs and spices (see final recipe below), plus several of the vegetables she listed. I also did some internet searches and found that many others have had success using all scraps for their vegetable broth. The one guideline everyone seems to agree on is that you should only cook vegetable broth for 1-2 hours, as it will turn bitter after longer than that. Another helpful guideline is to make the vegetable to water ratio approximately 1:1, which I found very helpful. Meat broths can be cooked much longer to get the marrow out of the bones, but as we no longer eat meat, I only use veggie broth.

Cook vegetable broth for only 1-2 hours, as it will turn bitter if you cook it longer.
I tasted my broth at the one hour mark and it was still way too weak at that point. So I ended up cooking mine for the better part of two hours. When the cooking time was up, I strained out the veggies and composted them, then ran the liquid through a jelly bag (cheesecloth would work just as well).
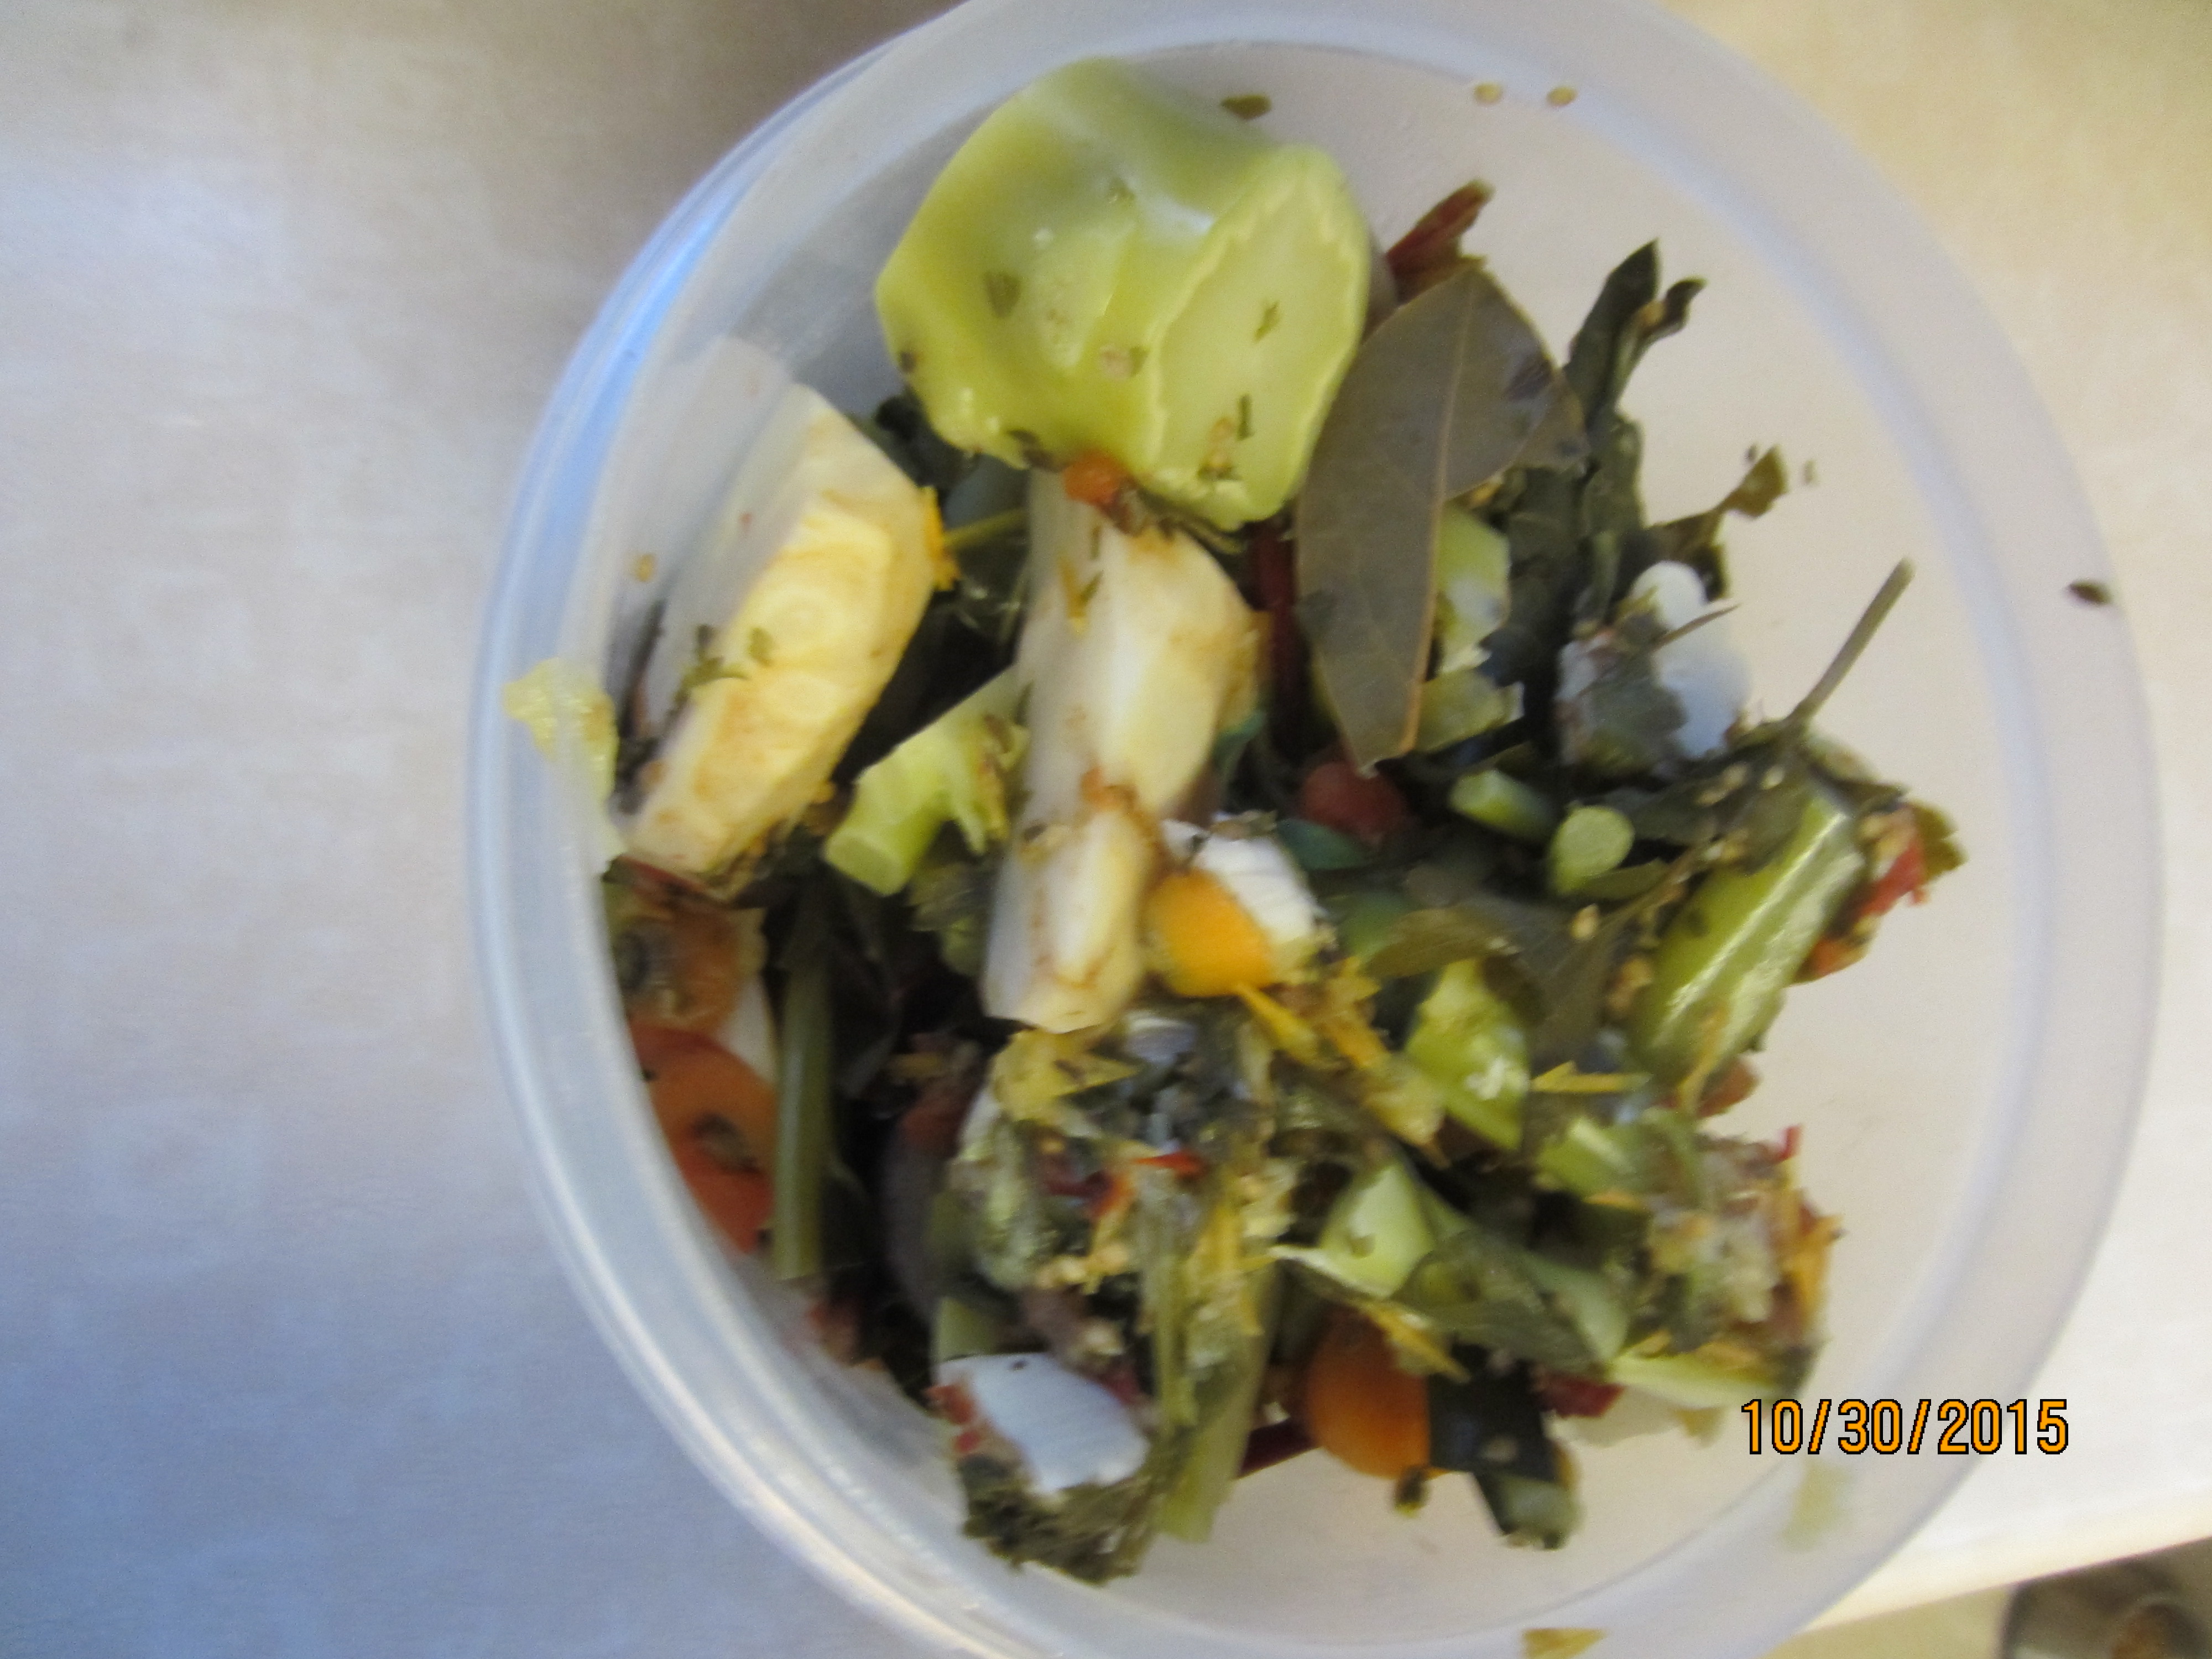
Cooked stock veggies do double duty by going into the compost bin. They will live on in next year’s garden!
After straining out the vegetables and herbs, I was left with this gorgeous vegetable broth. You’ll notice that the jars are not very full; this is so that they can be frozen. I was very low on my favorite freezer jar, the pint-and-a-half (24 ounce) size. But wide-mouth quart jars can be frozen if you fill them to just below the jar shoulder, cool them to room temperature, refrigerate overnight, and freeze with the lid off or only loosely set on top. Once it is frozen solid, screw the freezer lid on. If you do all of these things, your wide-mouth quart jars will not crack or break in the freezer.
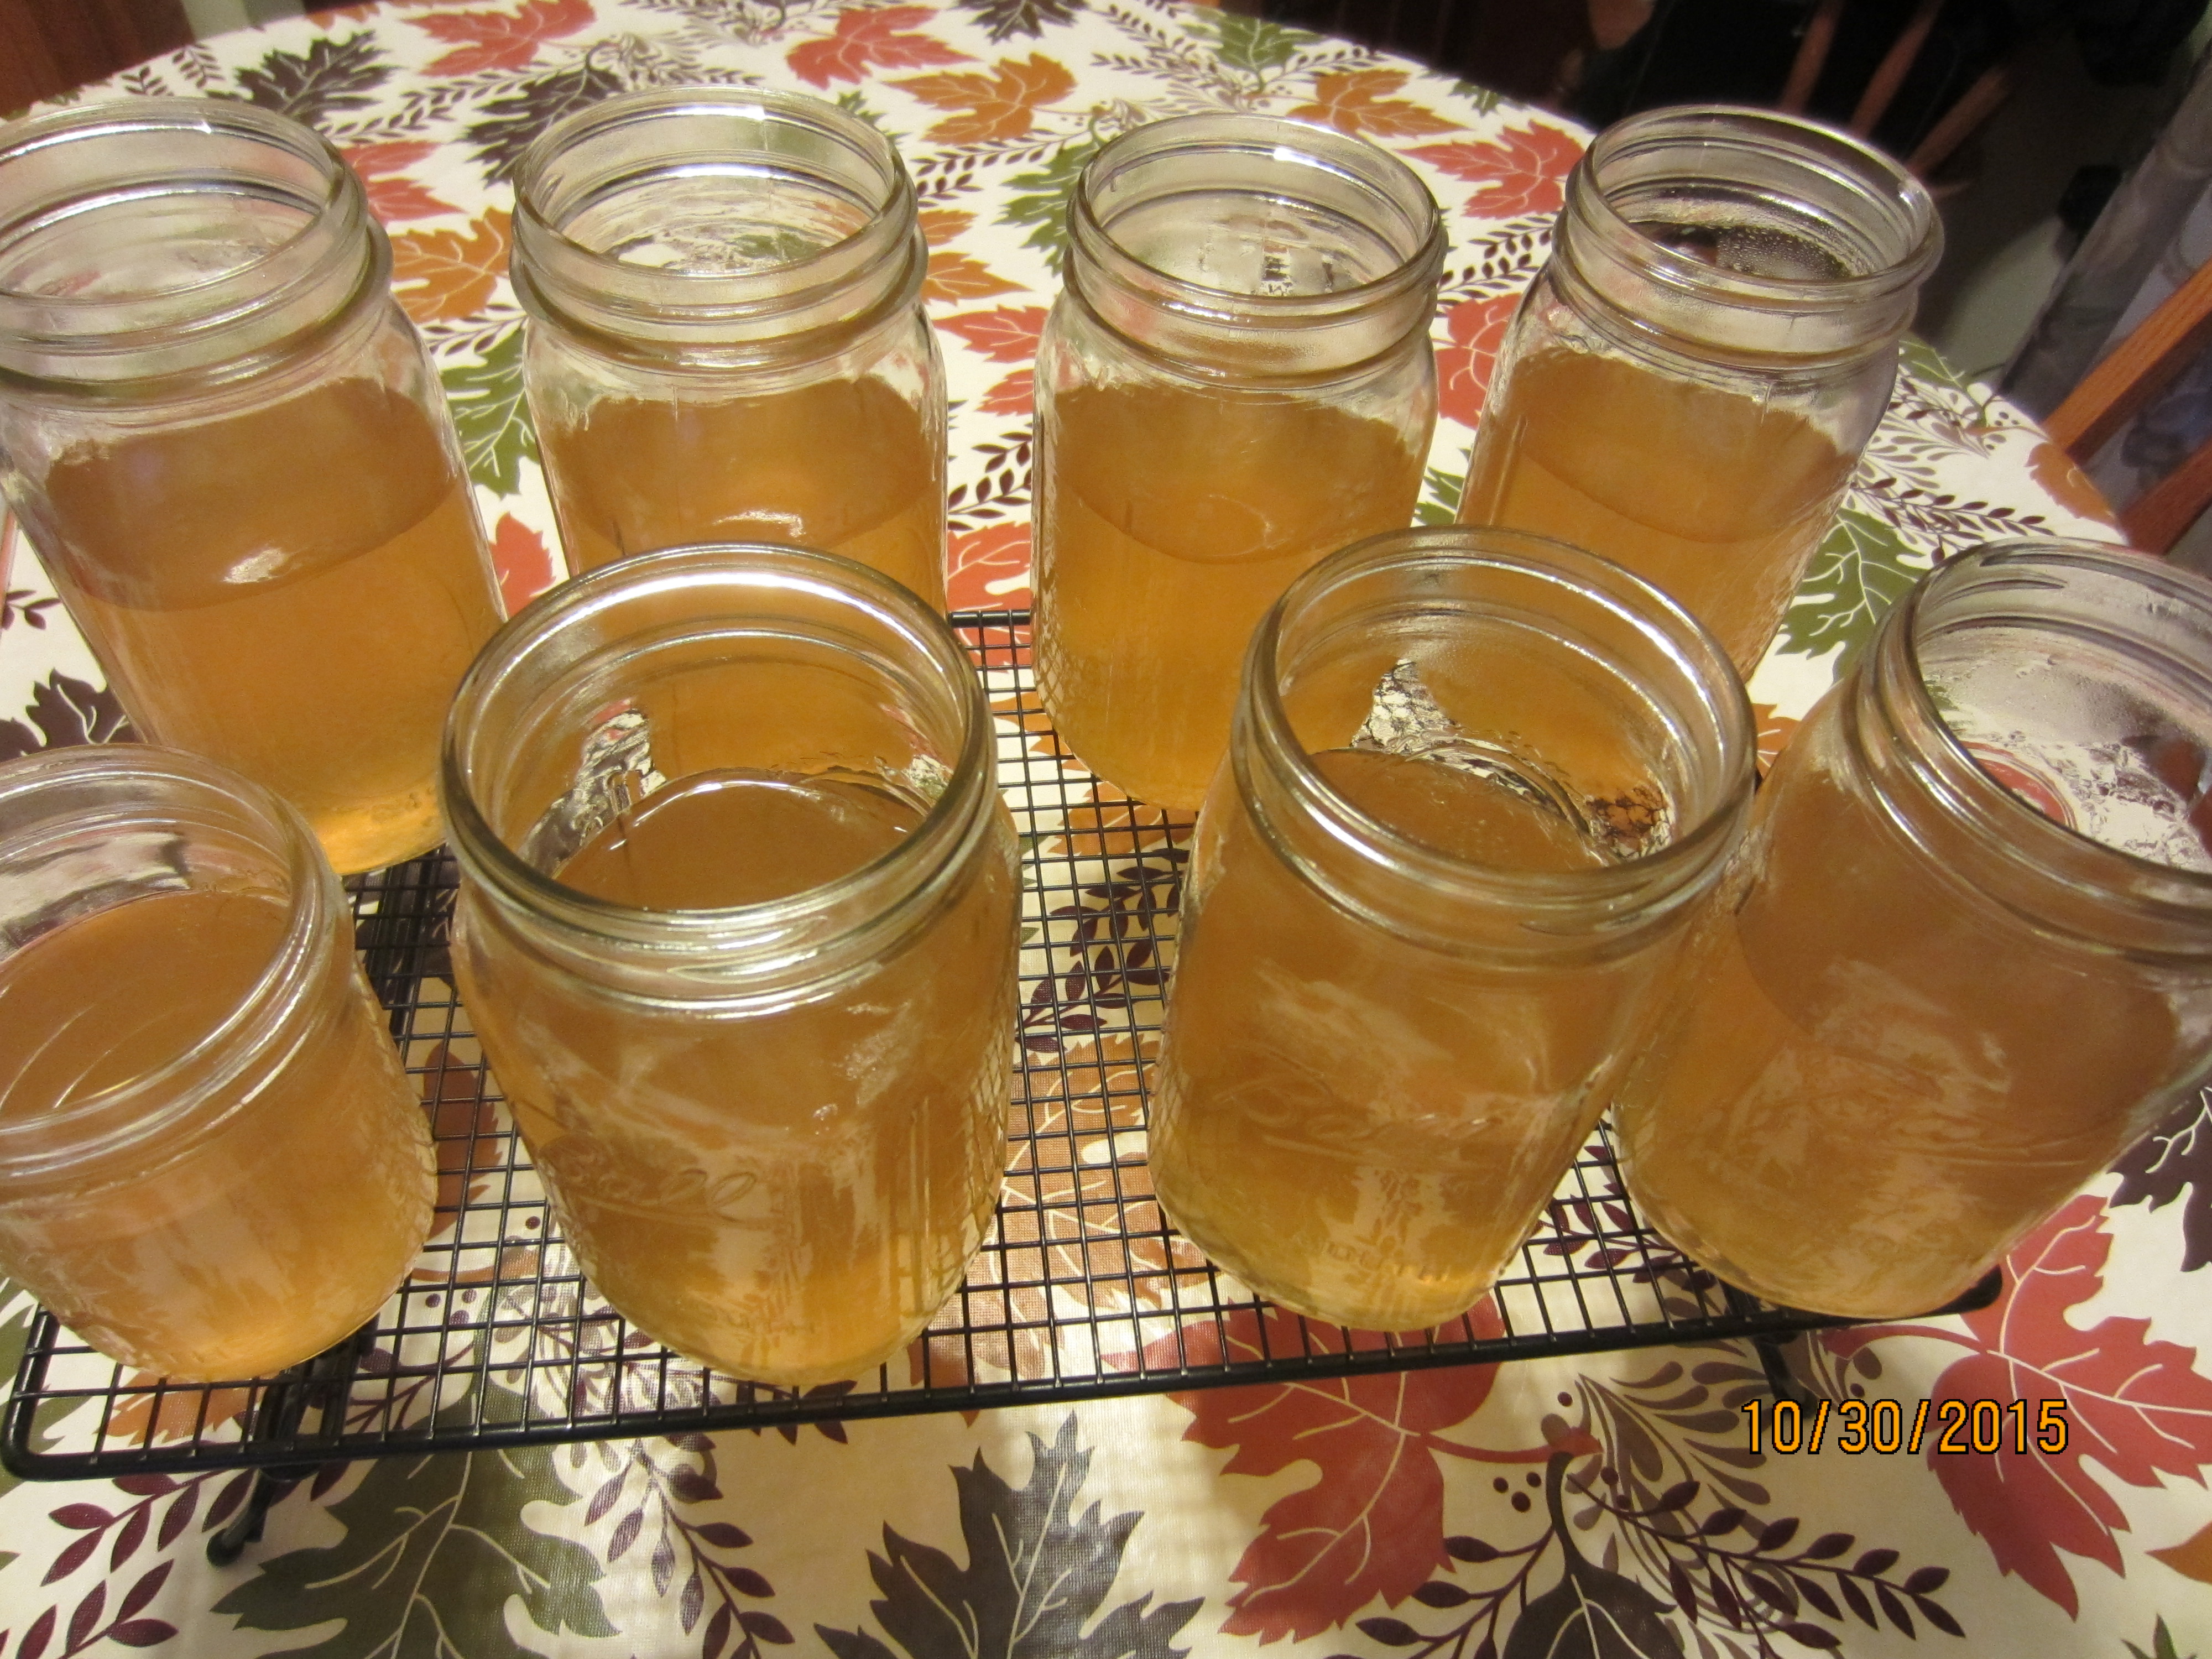
Vegetable broth cannot be home-canned safely with a water bath canner, so the broth must be used up in a few days or frozen for future use.
So here is my final recipe for my first go at vegetable broth from mostly scraps:
- I used a one-quart (four cup) measuring bowl and filled it with vegetable scraps until my stock pot was nearly full. For me, this was about five quarts of veggies, including: one onion; carrot tops; carrot ends; broccoli leaves and the large stem; cauliflower leaves and main stem; beet tops (greens); a whole celery root (celeriac) peeled and chopped; a bell pepper core; a small eggplant; a cabbage core; and two chopped tomatoes. Use whatever you have on hand, but onion, tomato, celery, and carrot should probably be represented at least minimally.
- I used the following herbs and spices: several whole cloves of garlic; a bay leaf; ten black peppercorns; 1 teaspoon dried thyme (I used lemon thyme from my garden); 1 teaspoon dried parsley (or of course, fresh if you have it); and a tablespoon (or more to your taste) of salt. (If you don’t want your stock salted and spiced, leave all of this out. Or if you are on a low-sodium diet, use the herbs and spices but not the salt.)
- I added an equal amount of water to the pot as the veggies that I measured, which was five quarts. Remember, the vegetables will give off some water while cooking.
- Heat until the liquid comes to a boil, then turn to low and simmer for 1-2 hours.
- Scoop out spent veggies with a slotted spoon and send to compost bin, then strain the liquid through a jelly bag or cheesecloth.
- Cool to room temperature then put in refrigerator. Use within a few days, or freeze in freezer-safe canning jars (the straight edged ones, which come in 4, 8, 12, 16, and 24 ounce sizes, or see my directions above about using wide-mouth quart jars). Never use glass jars that have shoulders with a narrower neck, and don’t put warm or hot liquid in the freezer. Don’t screw lids on until liquid has frozen solid.
- Congratulate yourself on a job well done. Waste not, want not! Enjoy!
